Last updated November 22, 2026
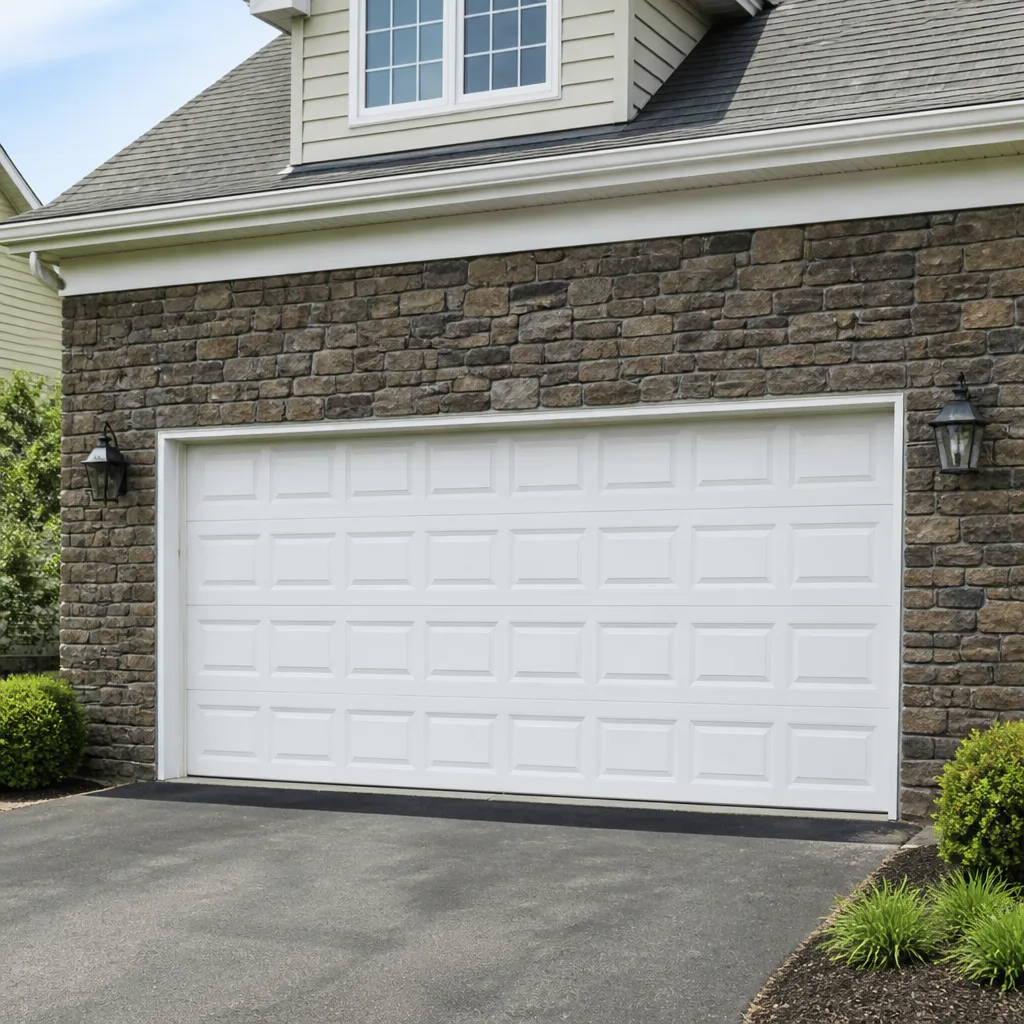 Raised-panel steel
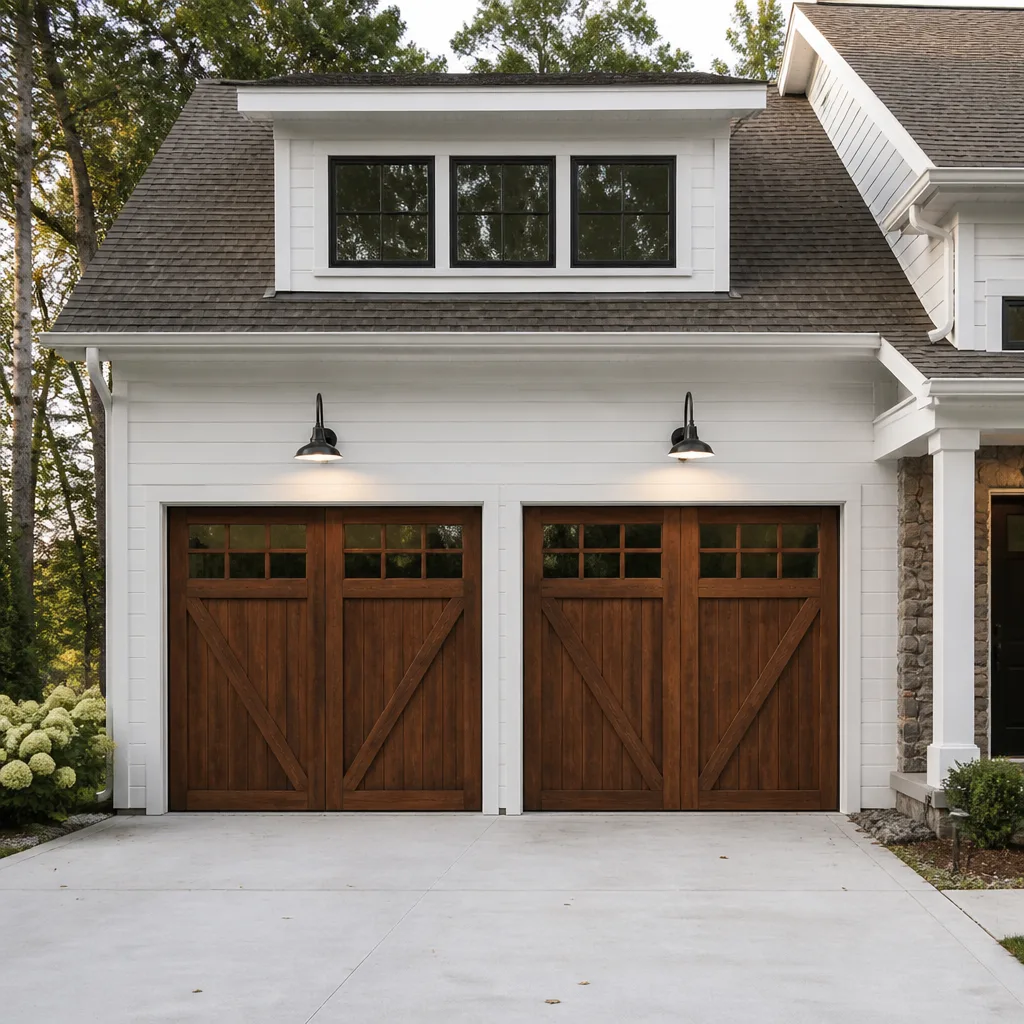 Carriage house
 Modern flush
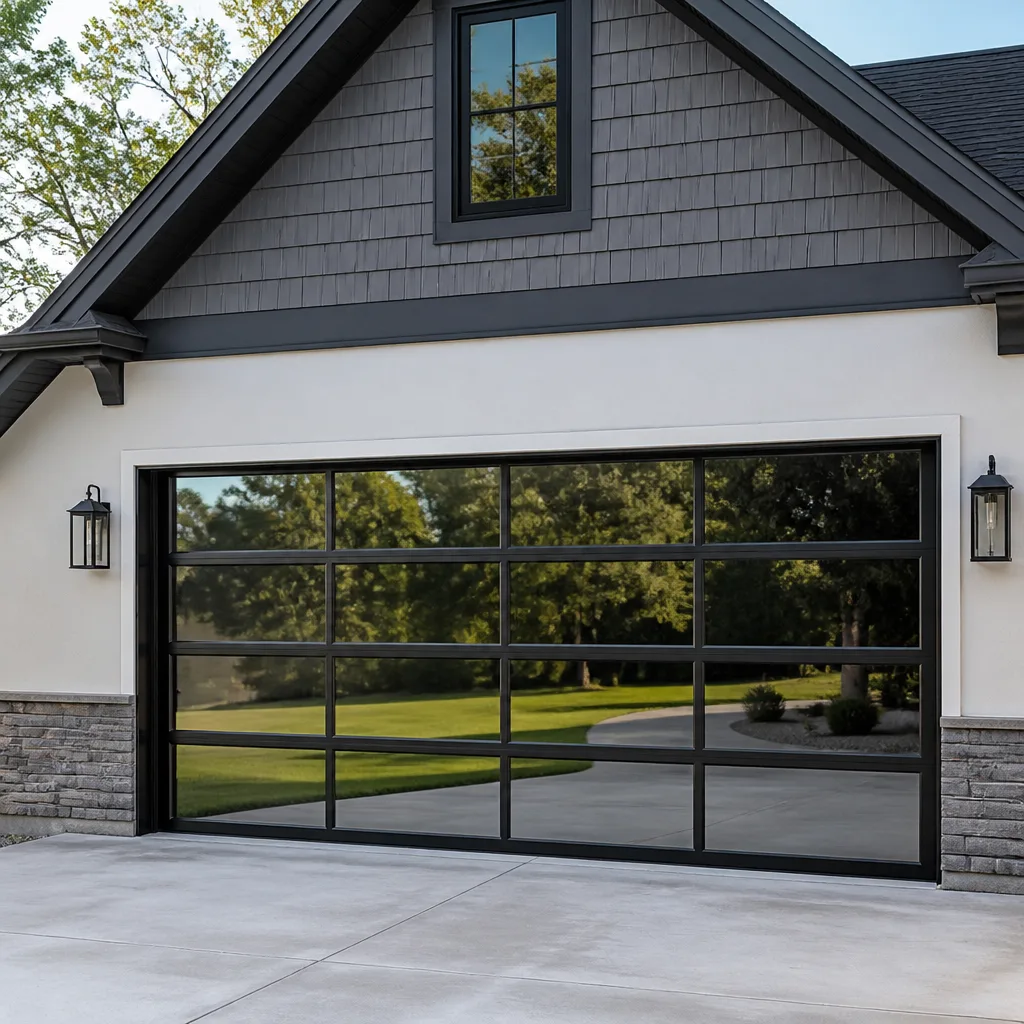 Full-view glass
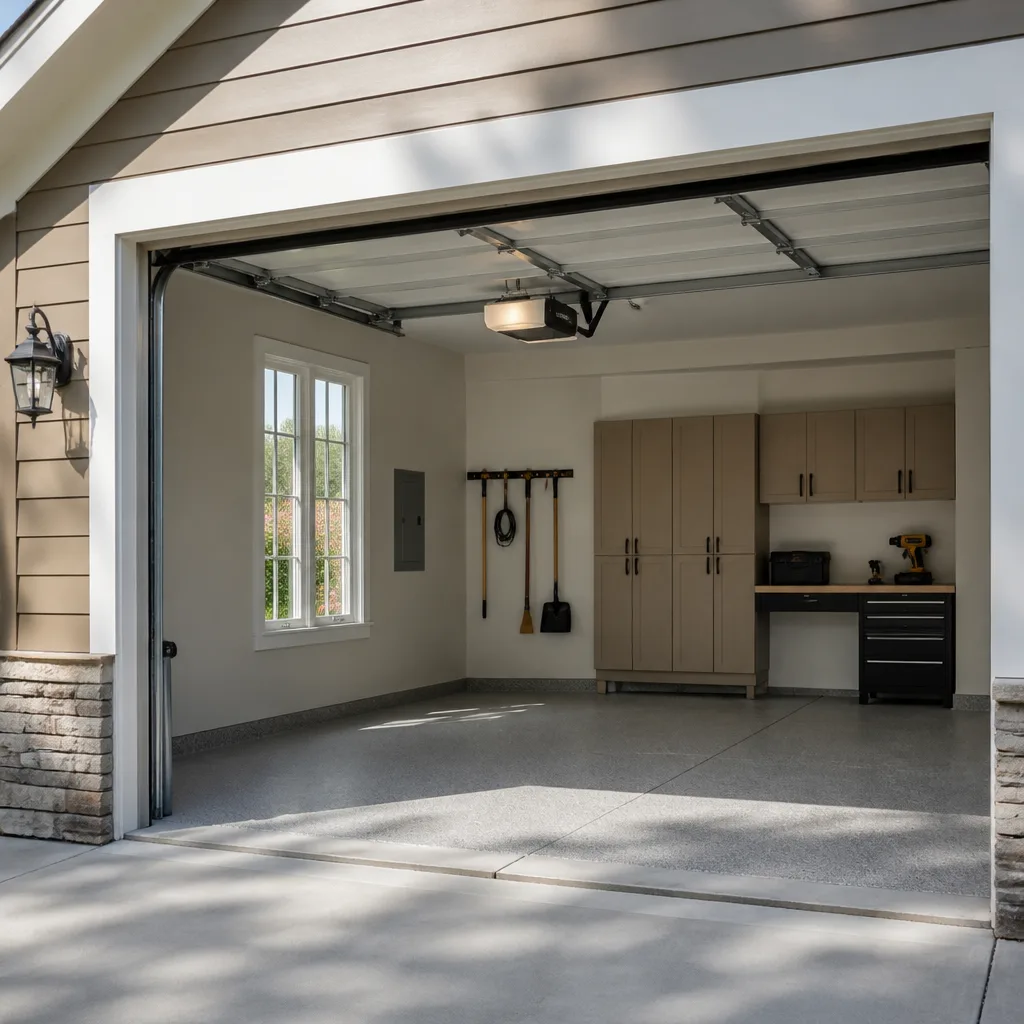 LiftMaster openers
 Chamberlain openers
Full 25-point door and opener safety check with every visit - springs, cables, rollers, tracks, and your LiftMaster or Chamberlain opener included
You get a price before we start. It does not change when the pro arrives.
Get your free estimateGarage Door Repair Maintenance Schedule: What to Do and When
The biggest maintenance mistake we see isn’t skipping lubrication. It’s lubricating the wrong parts. Spraying a general-purpose penetrant like WD-40 onto torsion springs, hinges, and rollers is one of the most common ways homeowners quietly speed up wear, because that fluid strips the protective coating springs need and leaves a tacky film that grabs grit. The right schedule isn’t a generic quarterly checklist either. In Lakewood, a door faces January ice, spring freeze-thaw cycling, summer humidity, and fall debris, and each of those stresses a different component. Below you’ll find a full-year maintenance schedule mapped to Lakewood’s actual seasons, a part-by-part lubrication guide, and the one annual test most homeowners never run. It takes about 25 minutes, not a whole Saturday.
Quick Answer
A garage door maintenance schedule should follow seasons, not calendar quarters: inspect and lubricate moving parts in late fall before hard freezes, check weatherstripping and balance in spring after freeze-thaw cycling, monitor hangers and tracks through summer humidity, and clear tracks and tighten hardware in fall. A full annual check takes about 25 minutes. Spring and cable work is the one thing that always belongs with a trained professional, because those parts are under extreme tension.
Styles & brands we work with
- Raised-panel steel
- Carriage house
- Modern flush
- Full-view glass
- LiftMaster openers
- Chamberlain openers
Table of Contents
- Why a Lakewood Door Needs a Seasonal Schedule, Not a Calendar
- The Part-by-Part Lubrication Guide (What Goes Where)
- The Manual Balance Test: The Annual Check Nobody Does
- Winter: What January Ice Does to Springs and Seals
- Spring: Weatherstripping and the Freeze-Thaw Cracking Pattern
- Summer: Humidity, Hangers, and Track Alignment
- Fall: Tracks, Hardware, and Preparing for Freeze
- The Full Annual Schedule at a Glance
Why a Lakewood Door Needs a Seasonal Schedule, Not a Calendar
A garage door in Lakewood has to survive a wider temperature swing than most homeowners think about. January cold locks up grease, contracts metal, and makes the bottom seal brittle. March brings repeated freeze-thaw cycles as daytime temperatures climb and night temperatures drop back below freezing. July humidity swells wood components and lets condensation work into hinges. Fall is when leaves and grit collect in tracks and feed wear all winter.
That cycle is why a schedule tied to calendar quarters does a poor job here. If you lubricate in April and test your balance in October, you’ve done every task at the wrong moment. The door is a machine made of steel, rubber, and springs, and each of those materials responds differently to cold, moisture, and grit.
What that means in practice:
- Late fall is your most important service window. Lubricant applied in November is still doing its job when the hard freezes arrive. Lubricant applied in August may be gone by January.
- Spring inspection catches the damage winter did. The freeze-thaw cycle shows up in weatherstripping and seal condition before it shows up in door operation.
- Summer is about moisture and hardware looseness. Humidity loosens the fit of some components and swells others. Checking hangers and track bolts in July prevents binding by September.
- Fall is about clearing and tightening. Everything that collected through the summer and early fall gets cleared before it freezes in place.
If you’d rather work with a specialist on the seasonal calendar itself, Oakes Garage Door Repair works exclusively on garage doors across the brands already in Lakewood garages, so a schedule built around your specific opener and door type is straightforward to put together.
The Part-by-Part Lubrication Guide (What Goes Where)
Lubrication is where most garage door care goes wrong. Three different product types belong on three different parts, and one common part should get nothing at all. Here’s the breakdown we walk every customer through.
White lithium grease is what goes on the opener’s screw drive or chain (check your opener’s manual, since Genie and Chamberlain models sometimes call for different specifics). It’s also suitable for the hinges’ pivot points in some climates, but on a Lakewood door we lean toward silicone here because lithium gets stiff in the cold.
Silicone spray is the right choice for hinges, rollers, and the torsion spring coils. It stays slippery at low temperatures and doesn’t attract dust. In a Lakewood winter, that low-temperature performance is exactly what you need.
Garage door lubricant (spray) or white lithium on the opener rail keeps the trolley moving smoothly without over-applying.
Nothing goes on the tracks. This is the counterintuitive one. Tracks are not a moving part in the sense that needs lubrication. Greasing tracks attracts grit, which builds up on rollers and wears them faster. Wipe tracks clean and dry, and leave them dry.
Put together, here’s the part-by-part breakdown:
- Torsion spring coils: silicone spray, light coat, once in late fall.
- Hinges at the pivot points: silicone spray, once in late fall and again in spring.
- Rollers (steel and nylon): a few drops of lubricant on the roller stems, once per season if the door operates daily.
- Opener chain or screw drive: white lithium grease per opener manual, once or twice a year.
- Opener rail and trolley: light coat of garage door lubricant, twice a year.
- Tracks: nothing. Wipe clean and dry only.
- Extension springs (if your door has them): silicone spray, light coat, but not so much that grit sticks.
One thing to understand before you get the can out: springs store enormous energy, and the surface coating on a torsion spring is there for a reason. Never spray a penetrating oil on a spring. Never spray WD-40 on it either. If your spring is already showing rust or making noise even after proper lubrication, that’s a repair conversation, not a maintenance one. Our garage door spring repair page covers how to recognize that stage early.
Also worth noting: a broken torsion spring or a snapped lift cable is not a homeowner repair. Those parts are under tension that can cause serious injury if released incorrectly, and even a careful DIY attempt is a bad trade against a professional repair. A trained technician has the winding bars and the procedure to release that tension safely.
The Manual Balance Test: The Annual Check Nobody Does
If you only do one thing from this guide each year, make it the balance test. It’s free, it takes about two minutes, and it catches a door that’s about to fail in a way you can’t feel from the outside. A door that won’t hold its own weight is telling you something about the springs, cables, or torsion system that needs attention before it becomes a repair.
Here’s the procedure:
- Close the garage door and disconnect the opener. Most openers have a red release cord or lever; pull it to disengage the trolley.
- Lift the door by hand to about waist height, then to the halfway point. You should feel resistance easing as it rises.
- Let go at the halfway point. The door should stay put, or drift slightly.
- If the door slams down, drops fast, or rises on its own, stop. The springs or the balance of the system are off.
- Reconnect the opener by moving the door back to the closed position and pulling the release cord back into the engaged position.
- If the door failed the test, don’t use the opener again until it’s been checked. Continued use on a failing spring accelerates wear and risks a snap.
In Lakewood, we recommend running this test in early spring and again in mid-fall. The temperature swing between those two points is the widest a door in this area sees, and it’s when spring tension shifts the most noticeably.
Do not adjust your own springs based on a failed test. Adjustment looks simple and is not. Call us if the door won’t balance. That’s a call we take seriously at Oakes, and it’s one of the fastest ways to prevent a bigger repair.
Winter: What January Ice Does to Springs and Seals
January in Lakewood does two things to a door: it stiffens everything that needs to flex, and it removes the lubrication that was keeping moving parts moving. Grease formulated without cold performance turns tacky or solid. Rubber seals that were supple in October become brittle, and stay that way until the thaw.
Winter maintenance matters most in the weeks before the hard cold arrives. That’s the point of a late-fall lubrication pass. By the time January hits, your door should already be prepped. If it wasn’t, the winter tasks are more about observation than action.
What to check in winter:
- Listen to the door open and close. New groans, squeaks, or slow-moving sections mean something is binding. Cold-stiffened grease is a common, easily fixed cause.
- Look at the bottom seal. A stiff, cracked, or detached seal lets cold air and moisture in and stresses the bottom section of the door.
- Watch for ice on tracks. If meltwater refreezes in the track channel, it can jam the rollers. Clear it gently, never by chipping at the track itself.
- Test the safety reverse. Place a small object flat under the door and close it. The door should reverse on contact. Cold affects opener mechanism performance on some Genie and Chamberlain units, so it’s worth confirming.
Do not force a frozen door. If the door won’t lift because it’s frozen to the ground, disconnect the opener and free the seal first with warm water along the bottom edge. Never pull the door free with the opener or the vehicle, because that loads the cables and torsion system abruptly.
Spring: Weatherstripping and the Freeze-Thaw Cracking Pattern
Freeze-thaw cycling is what makes the spring inspection in this guide different from what a homeowner in Miami would do. When water gets behind a weather seal, freezes overnight, and thaws the next day, it expands into the rubber and pulls it away from the door. Repeat that dozens of times through a Lakewood winter and you get a cracking pattern you won’t see anywhere else.
What you’ll notice about freeze-thaw cracking:
- Cracks start at the seal’s edges and spreads inward, not in the middle.
- The cracks are usually widest where the seal meets the door frame corners.
- The seal may feel firm right after a cold night and soft in the afternoon, which is the pattern to look for.
- Small tears at the seal’s fold reveal that the rubber has lost pliability and can’t return to its original shape.
Spring inspection tasks:
- Walk the perimeter of the door frame and check the weatherstripping with your fingertips and a flashlight.
- Look for cracking at the corners, which is where freeze-thaw does its most damage.
- Press on the seal to see if it springs back. If it stays deformed, it’s failing.
- Check the bottom seal across its whole width, not just the middle.
- Run the manual balance test. The widest temperature swing of the year is the right time.
- Listen to the opener run with the door disconnected. That isolates the door’s mechanical noise from the opener’s motor noise.
If weatherstripping is failing, replacement is a job worth doing with the right material. Our garage door repair service covers seal and bottom-rubber replacement alongside the other structural repairs that Lakewood winters trigger.
Summer: Humidity, Hangers, and Track Alignment
Humidity is Lakewood’s quiet wear agent. It doesn’t crack rubber like a freeze does, but it loosens hardware, swells wood in older doors, and lets moisture condense on the inside of steel components where you can’t see it. A door that operates cleanly in May can start binding in July without anything obviously broken.
The summer maintenance pass is mostly about hardware and alignment:
- Check track alignment. Stand inside the garage and sight down each track. Tracks should be parallel to the door edge and evenly spaced at the top, middle, and bottom. Any visible gap means the track has moved.
- Tighten track bolts. Hand-tighten with a socket until snug. Do not overtighten, which can bow the track.
- Check the horizontal track hangers. These are the metal straps hanging from the ceiling and their bolts take the most vibration. Loose hangers cause the track to sag and the opener to labor.
- Look at the hinges where they attach to the door panels. Humidity loosens panel screws faster than cold.
- Wipe the tracks clean and dry. No lubricant. Just a rag.
- Run the balance test again. Doors that were balanced in April can drift as the humidity swells the tracks seasonally.
If your opener is laboring in the summer heat, consider garage door opener repair before it fails outright. A motor straining against a misaligned door will eventually fail, and the repair grows when it does.
Fall: Tracks, Hardware, and Preparing for Freeze
The fall maintenance pass is the one that decides how well the door survives winter. Everything skipped in summer shows up here as debris in the tracks, loose bolts, and a lubrication routine that needs to be redone properly before freezing weather.
Fall checklist, in order:
- Clear the tracks completely. Leaves, grit, and debris collect at the bottom of the tracks. Remove by hand and wipe the track clean with a dry rag.
- Tighten every visible bolt and hinge screw. Cold contracts metal, and loose hardware that was snug in July can wiggle free by January.
- Lubricate springs, hinges, rollers, and the opener rail per the part-by-part guide above. This is the most important lubrication pass of the year.
- Inspect the bottom seal again. Replace any cracking rubber before cold weather makes it worse.
- Test the auto-reverse safety. Confirm the door reverses on contact with a small object.
- Run the balance test. Confirm the door holds itself.
- Listen for anything new. Noise that appeared in October means something needs attention before winter locks it in.
The fall pass takes about 25 minutes if the door system is healthy, and it’s the single highest-value 25 minutes you can spend on the door all year. Skip it and you’re asking the door to survive the Lakewood winter on stale lubricant and loose hardware.
The Full Annual Schedule at a Glance
Here’s the whole year on one page, for reference:
| Season | Lakewood Context | Tasks | Time |
|---|---|---|---|
| Late Fall | Before first hard freeze | Clear tracks, tighten hardware, lubricate springs/hinges/rollers/opener rail, test auto-reverse, balance test | ~25 min |
| Winter | January freeze, brittle seals | Listen for new noise, inspect bottom seal, watch for ice in tracks, quick balance test | ~10 min |
| Spring | Freeze-thaw cycling, seal cracking | Full weatherstripping inspection, manual balance test, listen to door cycle | ~15 min |
| Summer | Humidity, loose hardware | Check track alignment, tighten track bolts and hangers, wipe tracks, light lubrication pass, balance test | ~20 min |
Total annual time commitment, done right: roughly 70 minutes spread across the year. In our experience, homes that follow this kind of schedule call us far less often for emergency repairs than homes that don’t.
Common Mistakes to Avoid
- Spraying WD-40 on springs and hinges. It’s a solvent-based penetrant. It strips the coating spring coils need and leaves a tacky residue that grabs grit. Use silicone spray on those parts instead.
- Lubricating the tracks. Grease in a track catches grit and accelerates roller wear. Tracks stay dry and clean.
- Skipping the balance test. It’s the single best indicator a door is about to fail. Two minutes, once in spring and once in fall.
- Adjusting your own springs. Torsion and extension springs are under extreme tension. This is the one task that should always go to a trained technician. A Lakewood door that fails the balance test needs a pro, not a wrench and a video.
- Overlooking weatherstripping after winter. Freeze-thaw damage often goes unnoticed until it’s caused drafts, moisture, or partial seal detachment.
- Waiting to replace a noisy but working door. When a door starts squealing, groaning, or moving unevenly, it usually means a specific component is wearing. A replacement is almost never the first answer, and if a company opens with one on a Clopay or Amarr door that only needs repair, get a second opinion.
- Forgetting the opener’s safety reverse check. Spring and fall, every year. Object detection is a critical safety feature, not a maintenance extra.
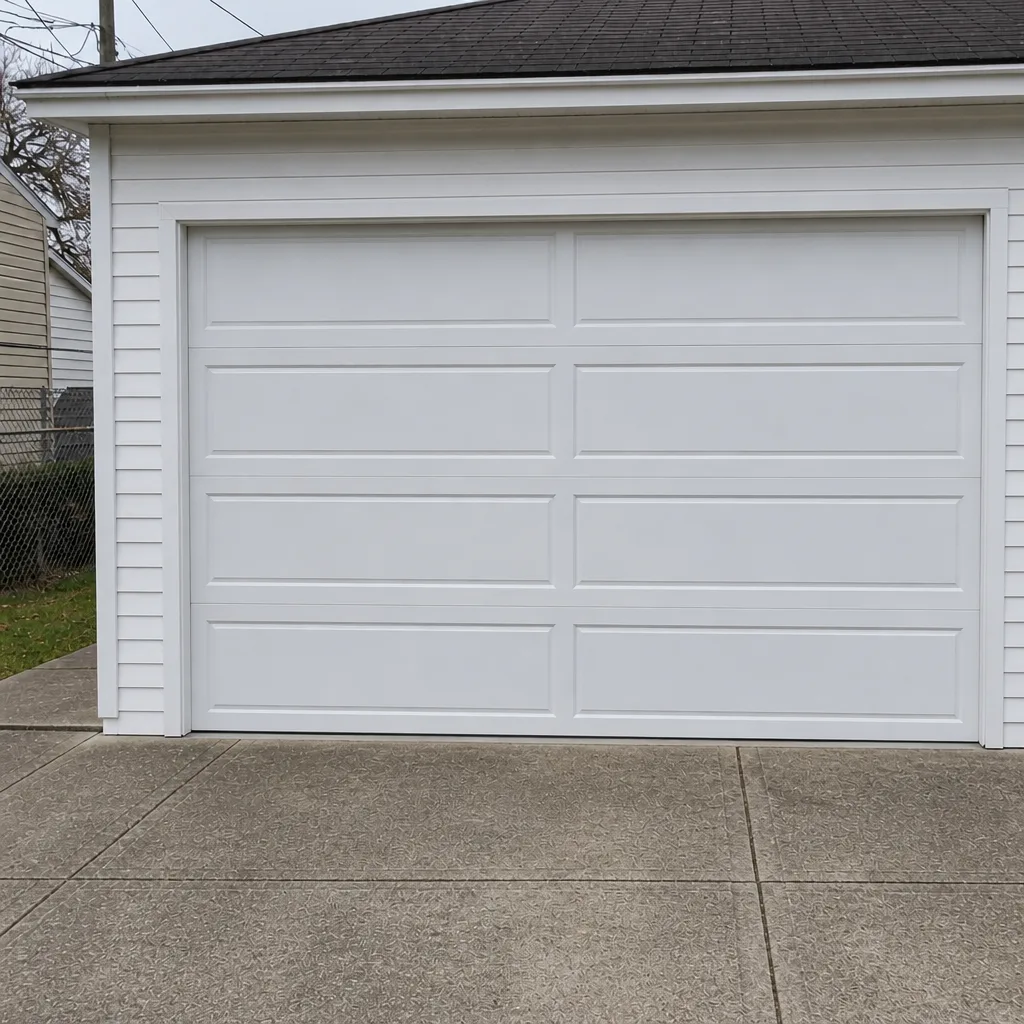
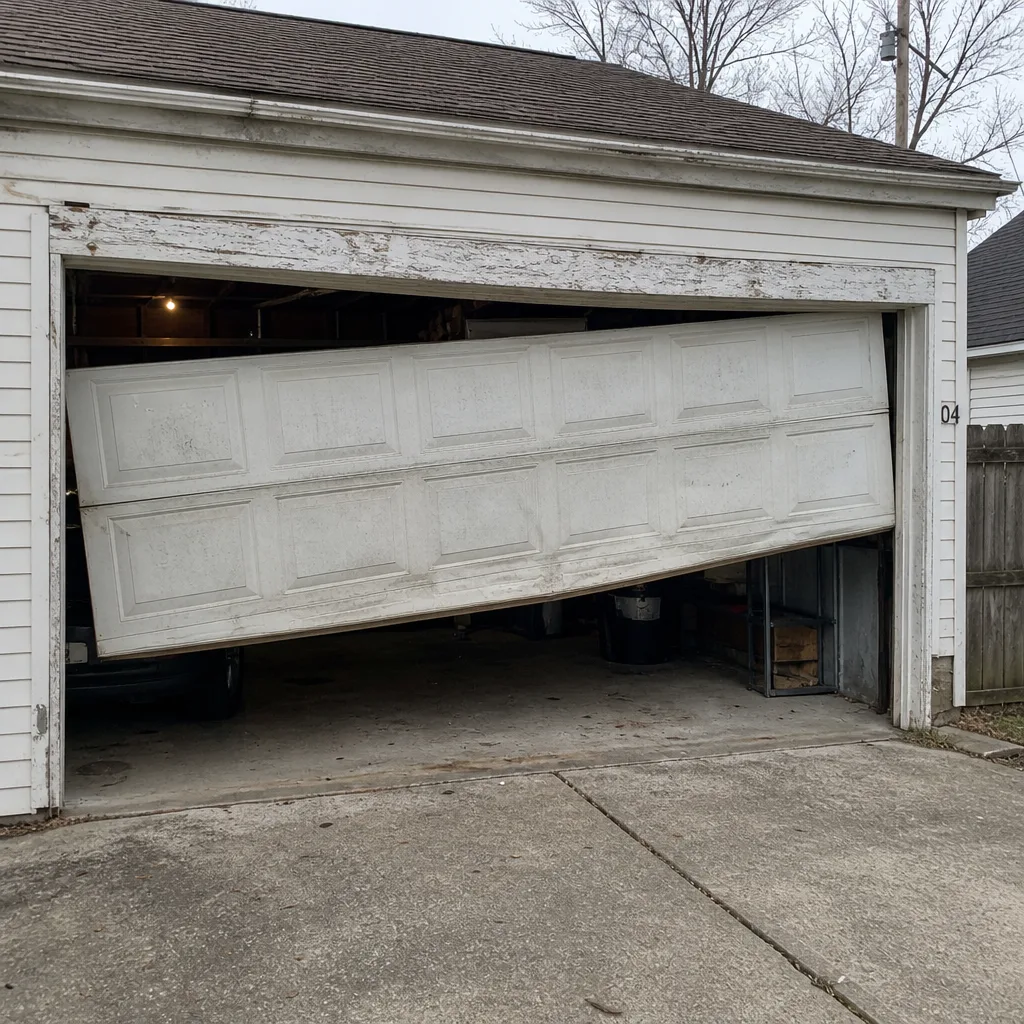
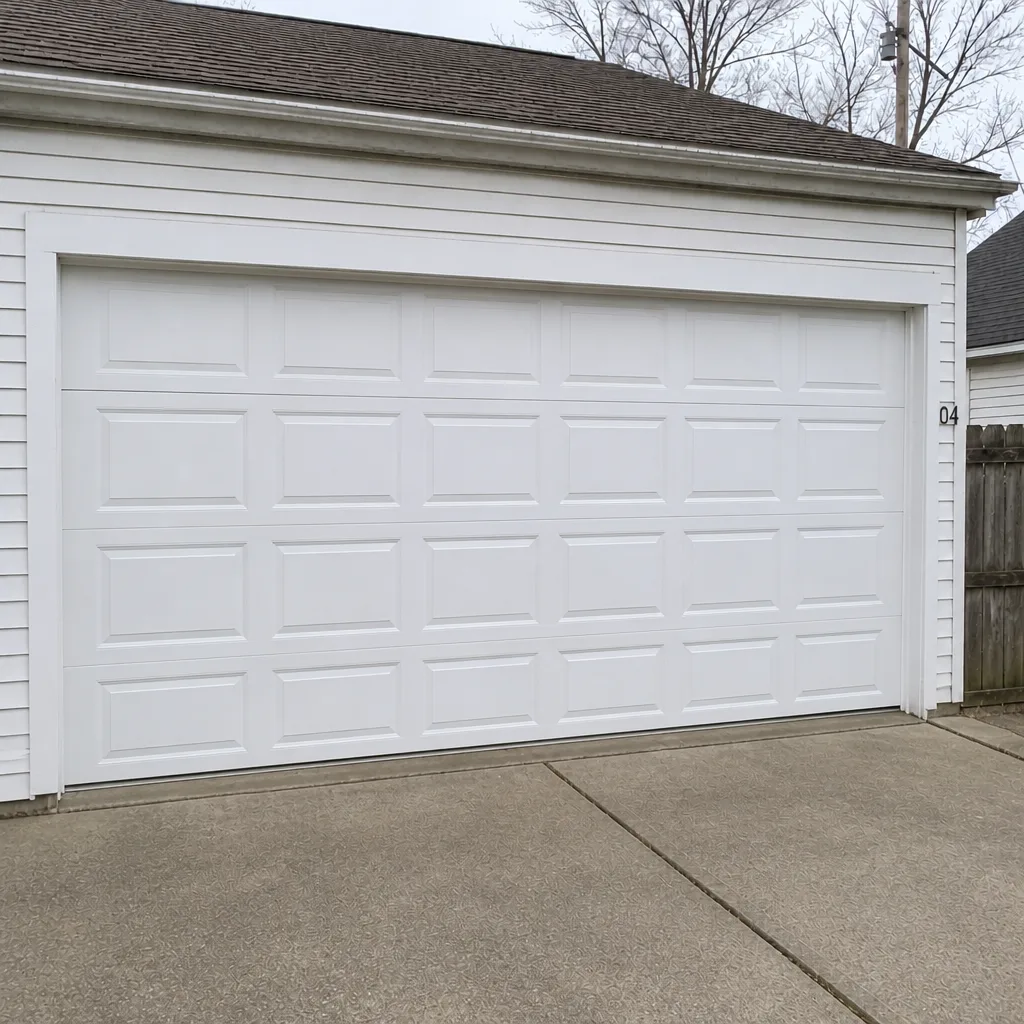
See the difference
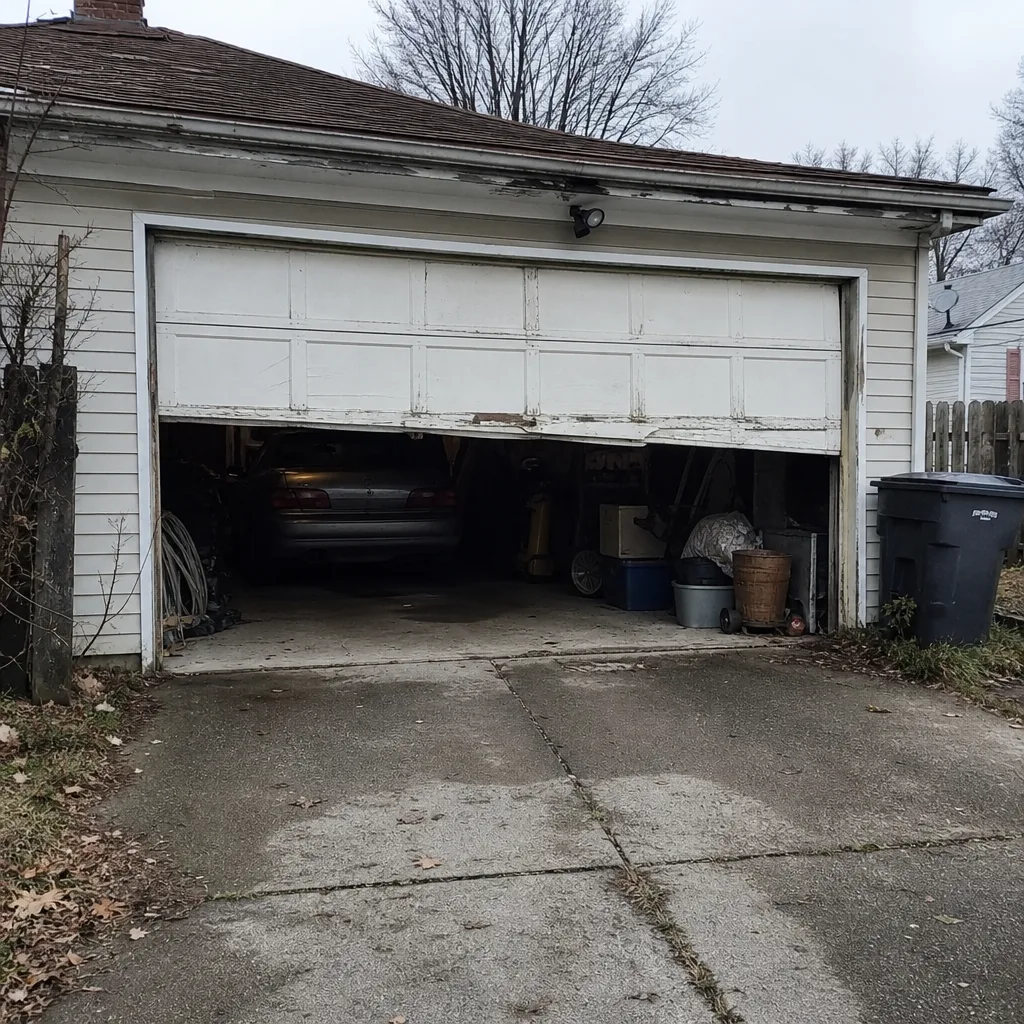 Before
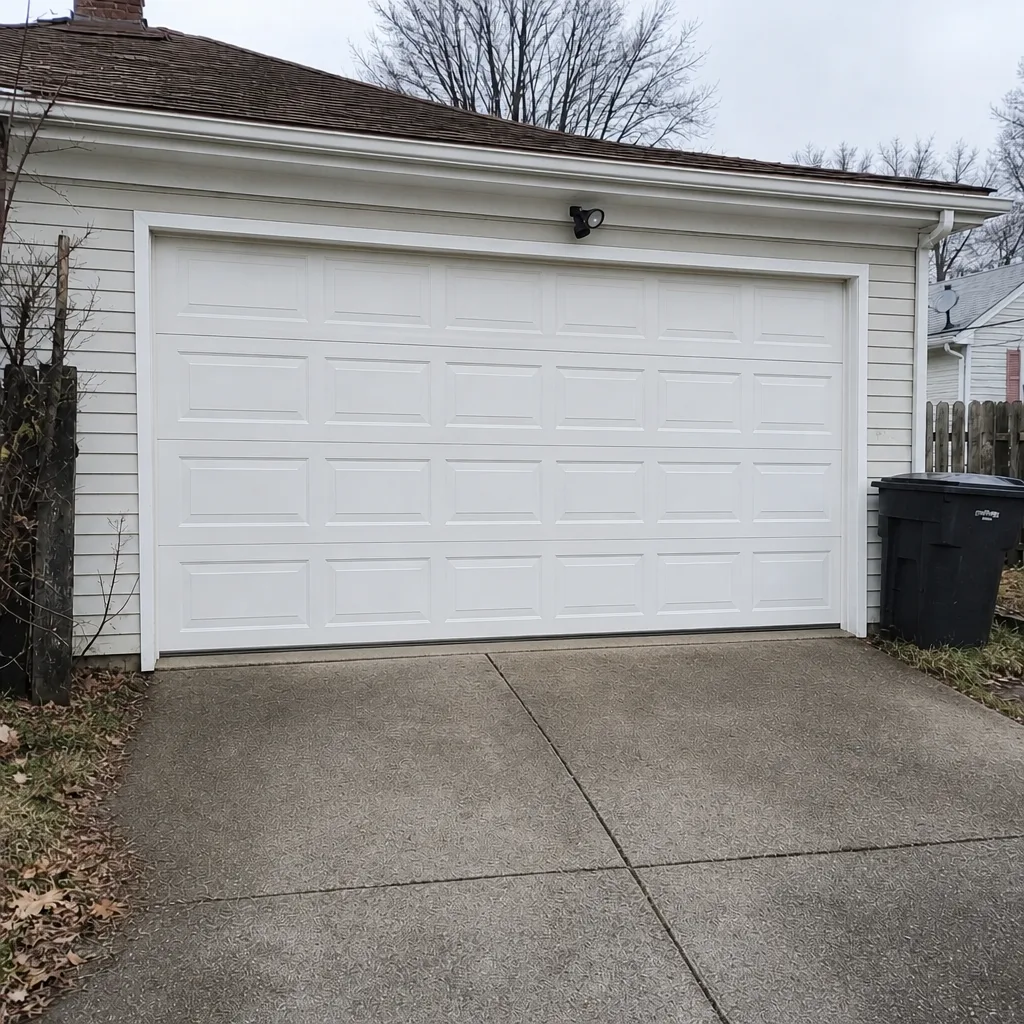 After
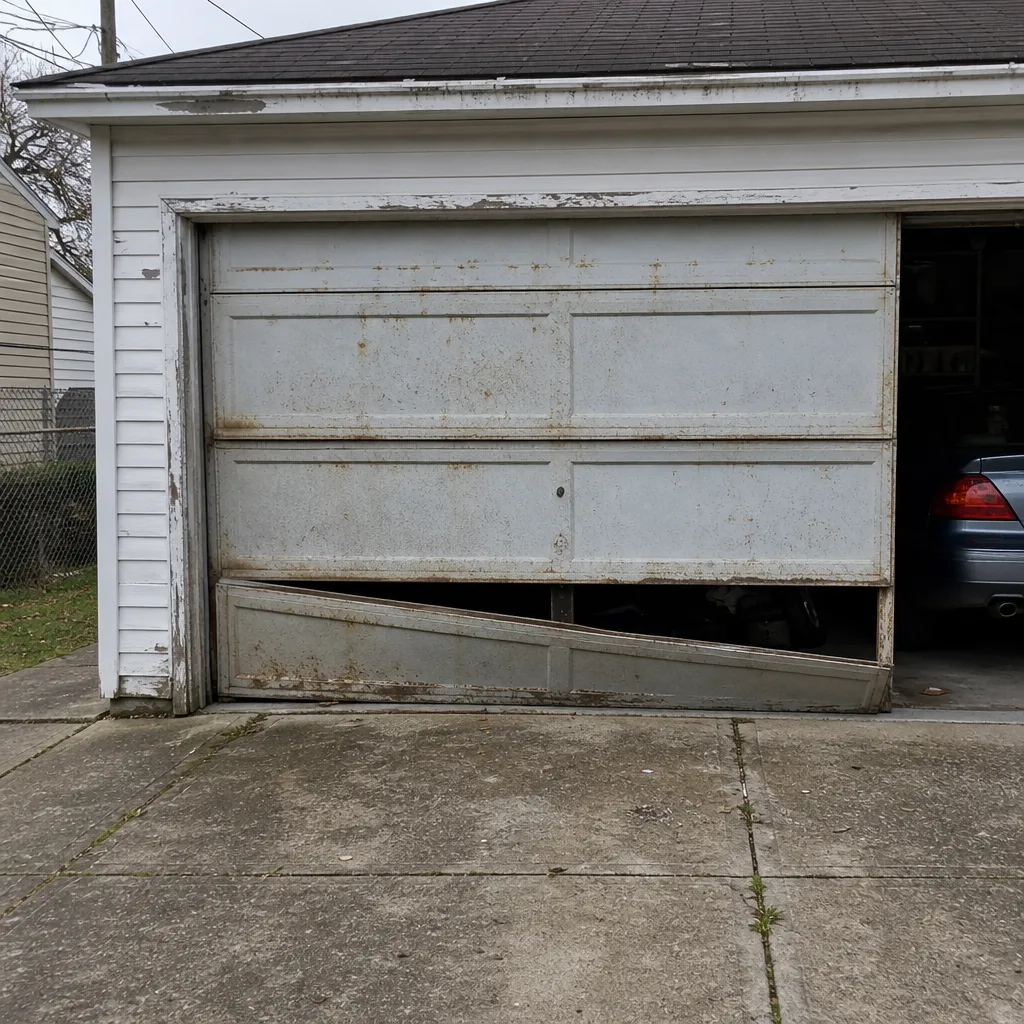 Before
 After
 Before
 After
When to Call a Professional
Some of this guide belongs in your hands. The rest doesn’t. Call a professional for anything involving spring tension, cable replacement, track straightening after impact, opener motor replacement, or a door that won’t close or open safely. If the balance test fails, if a spring has snapped, if the door has come off one track, or if a close call has already happened, don’t run the door again to “see if it’s really broken.” It is.
Oakes specializes in exactly those jobs, and our technicians have up to 8 years of experience. We work across LiftMaster, Chamberlain, Genie, Clopay, Amarr, Wayne Dalton, Craftsman, and Raynor equipment, so whatever is already in your Lakewood garage we already know. Oakes Garage Door Repair offers free estimates in Lakewood. Call (844) 959-0082.
Frequently Asked Questions
Twice a year, ideally with the most important pass in late fall before the first hard freeze. That pre-winter lubrication keeps springs, hinges, and rollers moving smoothly through January cold, when grease stiffens and cold-sensitive parts lose flexibility. A lighter pass in summer handles the humidity side.
Silicone spray, applied in a light coat. Never use WD-40 or another penetrating oil, because it strips the protective coating the springs need and leaves a film that attracts grit. If a spring is already noisy after proper lubrication, it’s time for an inspection.
Yes. Disconnect the opener with the release cord, lift the door by hand to halfway, and let go. The door should hold position. It’s the most important annual check a homeowner can do and takes about two minutes. If it fails, that’s a call to a professional, not a DIY adjustment.
About 25 minutes for the big fall pass, and roughly 70 minutes total across all four seasonal checks. It’s not a Saturday project. Many Lakewood homeowners find the door stays cleaner and quieter all year because the maintenance happens before each season, not after.
Cracks starting at the seal’s edges and around the door frame corners, where the freeze-thaw cycling does the most damage. Press the seal with your fingers. If it doesn’t spring back, it’s failing and needs replacement before next winter.
Humidity can swell track components and loosen hardware, both of which make the opener work harder. Track alignment, hanger tightness, and balance should all be checked in summer. If the strain continues after maintenance, the opener itself may need repair. Call (844) 959-0082 for a free estimate.
The Bottom Line
A good maintenance schedule follows Lakewood’s seasons, not a generic quarterly checklist. Lubricate the right parts with the right product, keep the tracks dry, test the balance in spring and again in fall, inspect weatherstripping for freeze-thaw damage, and tighten hardware before winter locks it in. The full schedule takes about 70 minutes a year, with the fall pass the most important 25. The rest you can do yourself, except for springs, cables, and anything that could put tension under your hands instead of a technician’s. That’s a call we take seriously. Call (844) 959-0082 for a free estimate.
Written by the team at Oakes Garage Door Repair.