Last updated November 22, 2026
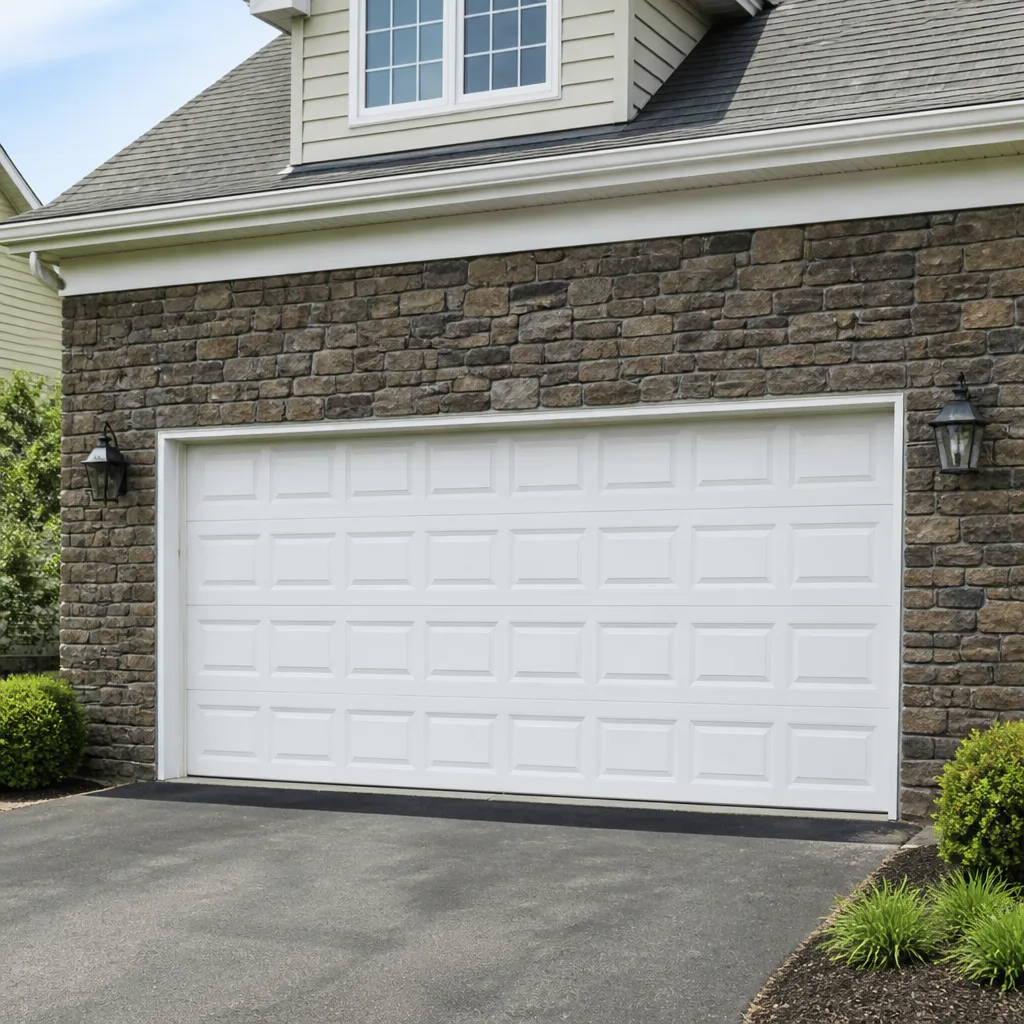 Raised-panel steel
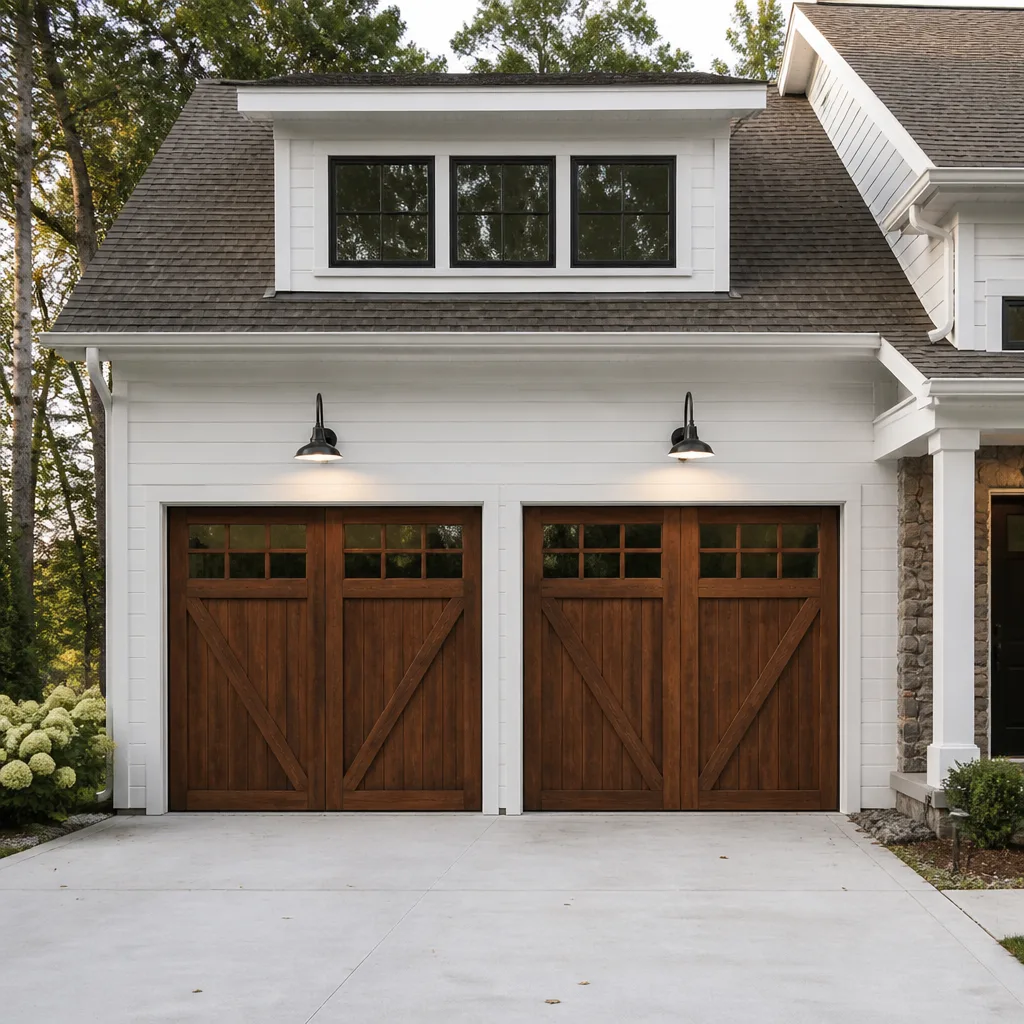 Carriage house
 Modern flush
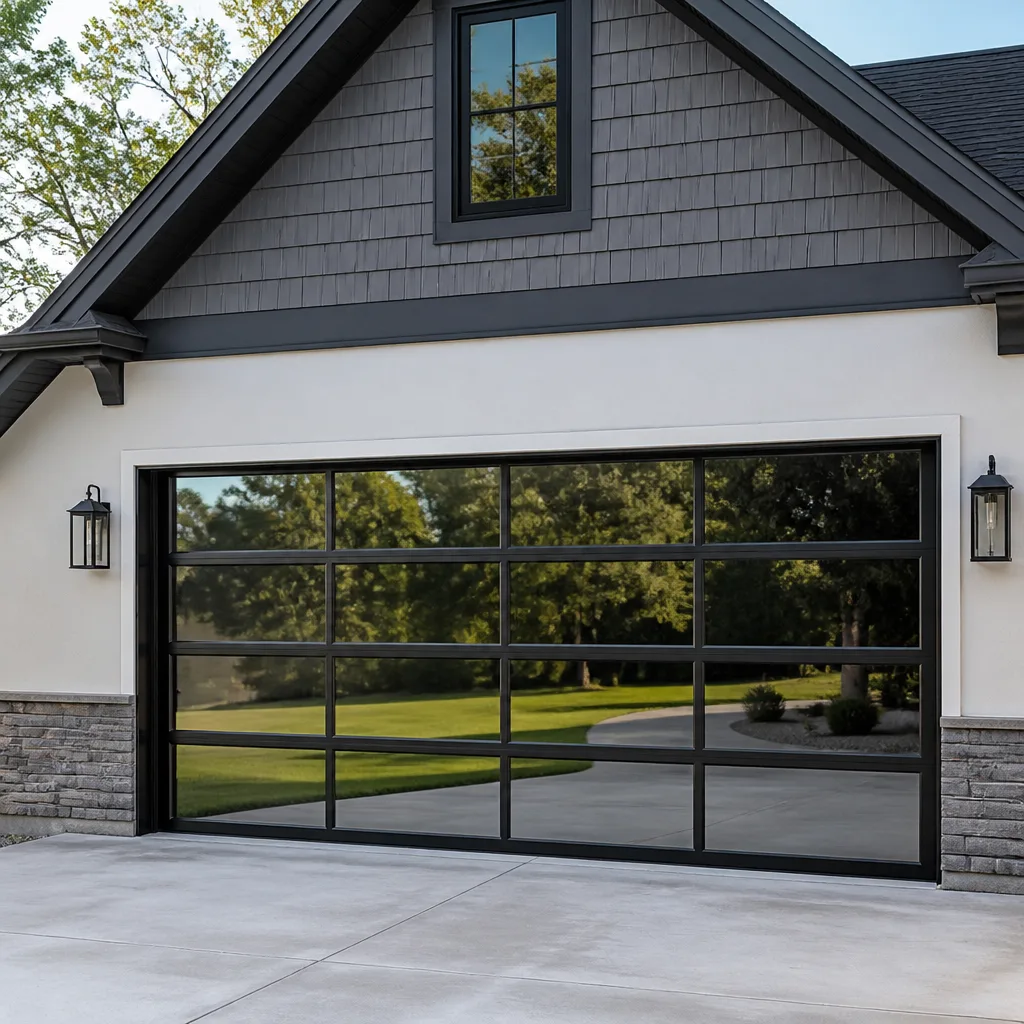 Full-view glass
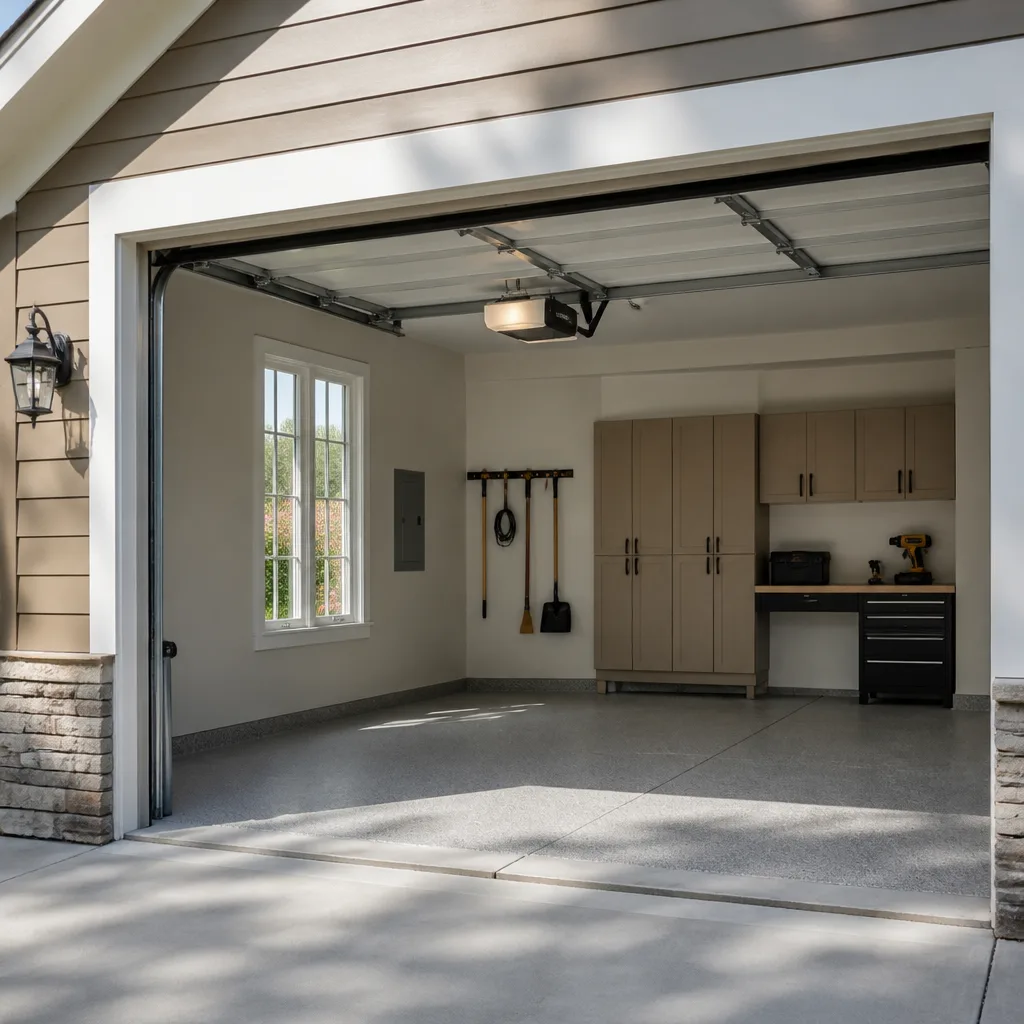 LiftMaster openers
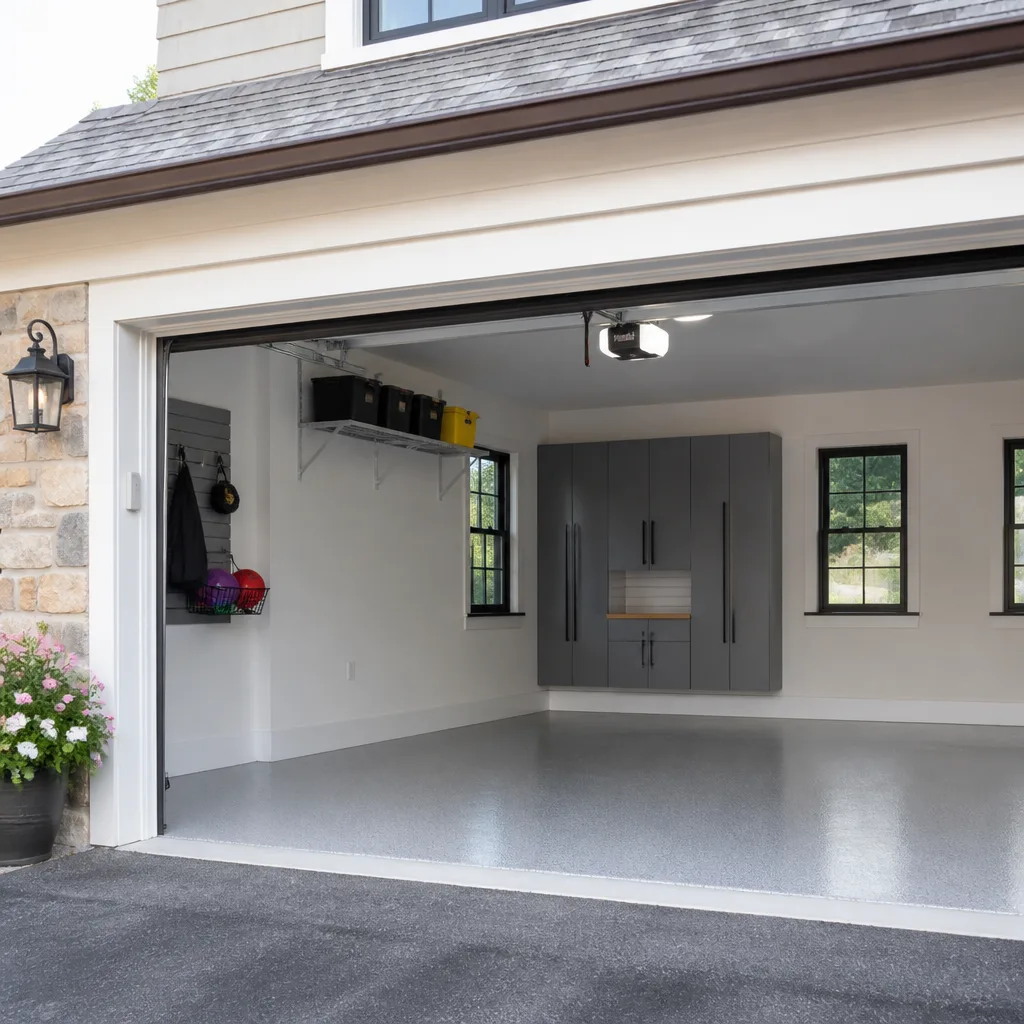 Chamberlain openers
Full 25-point door and opener safety check with every visit - springs, cables, rollers, tracks, and your LiftMaster or Chamberlain opener included
You get a price before we start. It does not change when the pro arrives.
Get your free estimateDIY vs Professional Garage Door: The Lakewood Homeowner’s Decision Guide
Most homeowners assume the line between DIY and calling a professional comes down to skill. It doesn’t. It comes down to physics. A torsion spring on a standard residential door stores somewhere between 150 and 300 pounds of tension, depending on the door’s weight and height, and that stored energy decides exactly which tasks belong to you and which belong to someone with the right tools and training. On the other side of that line sits a long list of genuinely safe, genuinely useful work any attentive homeowner can handle. This guide draws the line clearly for Lakewood homes, so you can decide what to tackle and what to hand off.
Quick Answer
You can safely DIY a garage door’s maintenance, weatherstripping, photo-eye alignment, track cleaning, roller replacement, remote and keypad programming, and light lubrication. You should not touch torsion springs, cables, bottom brackets or the counterbalance system yourself, because those parts hold stored energy that can injure you regardless of how careful you are. Everything else, from opener logic board resets to panel replacement, sits in a middle zone where comfort and access determine the call.
Styles & brands we work with
- Raised-panel steel
- Carriage house
- Modern flush
- Full-view glass
- LiftMaster openers
- Chamberlain openers
Table of Contents
- Where Exactly Is the DIY Line?
- What Can a Lakewood Homeowner Safely DIY?
- Why Spring Work Is Different From Everything Else
- How Lakewood’s Older Garages Complicate DIY Installs
- What a Botched DIY Repair Costs to Undo
- How to Diagnose the Problem Before You Call
- When to Call a Professional Instead
- Frequently Asked Questions
Where Exactly Is the DIY Line?
The garage door trade has three zones, not two. Most guides flatten this into “call a pro or don’t,” which is unhelpful because it makes homeowners feel either overconfident or overly cautious. Here’s how we think about it after years of walking Lakewood driveways and looking at the same kinds of door assemblies.
Zone 1: Green. Safe and straightforward. Routine maintenance, adjustment of user-serviceable parts, remote programming, and visual inspection. These tasks have no stored-energy risk beyond what an ordinary homeowner handles every day.
Zone 2: Yellow. Possible but conditional. Replacing rollers, swapping a panel on a damaged door, resetting opener travel limits, and re-engaging a door that’s come off its track. These are doable for a patient homeowner with a second set of hands and the right parts. They carry a real chance of making things worse if rushed.
Zone 3: Red. Professional only. Torsion spring replacement, extension spring replacement, cable replacement, bottom bracket work, bearing plate removal, and any adjustment to the counterbalance system. Also any work inside an electrical panel or on the wiring at the motor head where live house current enters.
The single most overlooked point: spring work is the highest-risk task in the entire trade. It separates true specialists from generalists. That’s why we treat it as its own category, and why most of this guide spends its time on the green and yellow zones rather than trying to scare you out of a screwdriver.
What Can a Lakewood Homeowner Safely DIY?
Quite a lot, actually. If we walked up to your door in Lakewood and had you narrate what you’d attempt, here’s the list we’d encourage you to keep:
- Lubricate hinges, rollers, and the torsion bar. A spray-on garage door lubricant on hinges, roller stems, and the torsion shaft every few months quiets the door and slows wear. Use a proper door lube, not WD-40 or grease, because grease attracts grit and can gum up roller tracks.
- Replace weatherstripping. The rubber flap at the bottom of the door and the perimeter seals along the frame are inexpensive parts. If the door lets in a draft, replacing the bottom seal is a one-hour project on most doors.
- Clean and align the safety sensors. The photo-eye pair near the floor (mounted about six inches up) needs a soft cloth wipe and a gentle nudge to re-aim if the opener refuses to close. The opener’s LED indicator light tells you when the beam is broken.
- Clean the tracks. Wipe out debris and clean the track with a damp cloth, then dry it. Never use oil in the track; oil captures dirt and causes the door to bind.
- Program remotes and keypads. On LiftMaster, Chamberlain, and Craftsman openers, the “Learn” button on the back of the motor head lets you pair remotes, wireless keypads and HomeLink in a few minutes. The owner’s manual or the opener’s branding label is your guide.
- Adjust the opener’s travel and force limits. When the door doesn’t close fully or reverses early, the up/down adjustment screws on the opener are the culprit. Small quarter-turn adjustments and a second person watching the door’s travel safely reach the right setting.
- Swap a broken roller. With the door fully open and the tension released by the opener arm on a section door, most rollers lift free of the track with a flathead screwdriver and a new roller inserted in the same slot. This is the last safe step before the yellow zone.
- Replace a light bulb, battery, or backup battery. Trivial, but worth saying because a dead opener battery is one of the most common reasons a door stops responding after a power outage.
One more: annual visual inspection. A two-minute walk-around with a flashlight – hinges, brackets, cables, springs, track mounting bolts, and the jambs – will tell you when something has changed. Catching a stretched spring or a loose lag bolt on a Saturday morning before it fails is worth far more than a repair later. And if a door does fail on a Saturday, our operation is closed then, but you can still call and we’ll book you for Sunday.
Why Spring Work Is Different From Everything Else
Torsion springs hold the door’s weight through a steel shaft and cables. The spring is wound up (loaded) when the door is closed, and the tension unwinds as the door rises. That stored energy is what makes the door feel light enough to lift with one hand. When the door’s weight matches spring tension, the door feels balanced at any point in its travel.
The danger is not the door dropping. It’s the spring failing while someone is loading or unloading it. A torsion spring that lets go at full tension can be violently fast. The specific tools and knowledge gaps that matter:
- Winding bars. Loaded torsion springs must be wound and unwound using two solid steel bars inserted in the cone. Homeowners who substitute screwdrivers, pipe, or pliers don’t have the leverage or the length to stay clear of the cone when a spring releases. Every year we get calls that start with “the screwdriver slipped.”
- Winding direction. Red springs and black springs wind in opposite directions. Installing them backwards releases the load the moment the door operates, and the door and hardware become the release valve.
- Wire diameter and cycle count. A spring is rated by wire diameter, inside diameter, and length. A spring that fits the cone may not fit the door’s weight. A mismatched spring either balances poorly or fails early, and a clearly wrong spring can render a door unsafe within weeks.
- Cable and bracket geometry. On cable jobs and bottom bracket work, the two cabled sides are already under tension before anyone touches them. Loosening a bottom bracket without first locking the door’s tension with locking pliers in the track can release both cables at once.
None of those need to be scary if you’re standing well back from a door and calling someone. The point of this section isn’t to threaten. It’s to be honest: spring repair is genuinely specialist work, and any local pro who treats it as an easy side task is telling you something about their judgment. If you want a deeper walkthrough of what the job involves, our garage door spring repair page covers the process.
The one safe spectator action when a spring appears to have broken (door feels extremely heavy and the opener struggles or won’t lift): don’t run the opener, don’t try to lift the door by hand more than a few inches to confirm, and call for service. That pause protects you and keeps the door from dropping unevenly and wrenching a cable bracket out of the header.
How Lakewood’s Older Garages Complicate DIY Installs
Lakewood is one of the most densely built older suburbs in Ohio, and its garages were mostly added or replaced over decades, not engineered to any single standard. On a new door installation or a full opener replacement, this matters enormously. The door may be one you buy off the shelf, but the opening it goes into is bespoke.
Three specific complications we see regularly in Lakewood garages:
- Uneven concrete floors. A door’s bottom seal sits flush only if the floor beneath it is level across the opening. Many Lakewood garage slabs slope toward the apron for drainage, or have heaved from freeze and thaw. A DIY installer who sets the bottom panel to the floor across the whole width either leaves a gap under one side (inviting water and cold air) or binds the door against the floor. The professional solution is to set the bottom panel level and use a thicker or stepped bottom seal to bridge the gap.
- Non-standard rough openings. Older detached and attached garages often have rough openings a few inches off a standard nominal size. A door built to a catalog spec may not fit cleanly. That means cutting down door sections, changing the track’s mounting position, or ordering a door built to the actual opening, which is measured, ordered, and scheduled rather than grabbed from stock.
- Deteriorated header framing. The header is the beam above the opening, and it carries the weight of the wall above it. In garages near the lakefront (the western edge of Lakewood), winter moisture cycles can weaken wood framing slowly and invisibly. A professional installer checks the header before hanging a heavy door and track on it. An inattentive DIY owner can put 200+ pounds of new door on framing that’s already showing softness, and the consequences play out over months, not hours.
This is where we’d say the installation zone is almost always a pro call in Lakewood, even when the same homeowner could handle a garage door repair. The diagnosis of an existing door is familiar ground. The installation of a new one requires measurement, ordering, and a written price, none of which is a same-day event. If you’re leaning toward replacement, our garage door repair page is the honest starting point, since about half the “replacement” calls we see turn out to be repairs that a new door wouldn’t have fixed.
What a Botched DIY Repair Costs to Undo
This is the part that separates a decision guide from a marketing brochure. A failed DIY repair doesn’t cost you the price of the original fix; it costs you the price of the fix plus the cost of undoing whatever went wrong. Both halves are real. Here’s how to think about them without inventing a number we can’t back up.
A few things are reliably true about coming back from a botched repair:
- Bent track and panels. A door that came off the track and was shoved back into place by hand usually carries a bent vertical track, a creased bottom section, and a misaligned opener arm. The fix is track replacement, panel replacement, or both, plus rebalancing the door. None of that was on the original ticket.
- Stripped or broken opener gears. Homeowners who force an opener up or down when the door is heavy, or who reset the travel limits too far, burn out the opener’s plastic drive gear. That’s an opener replacement, not an opener repair, because the gear housing is internal and not sold as a separate part on most modern openers.
- Broken cables and brackets. A cable released under tension can whip the bottom bracket off the corner of the door and scar the panel around it. The repair is cable, bracket, and sometimes panel.
- Warped panels from a bad install. A door installed with one side of track lower than the other will bind and slowly warp as it operates. The fix usually means rehanging the door from scratch.
Every estimate we write is itemized, so a homeowner can see exactly which parts the fix needs before we start. Nothing gets added mid-job without a conversation. If you’ve had a bad experience with a cheap repair and are gun-shy, that itemization is the thing to ask for from anyone you hire.
The cheap and useful way to frame the decision: the tasks in the green zone carry no rework cost because they don’t damage anything. Tasks in the yellow zone carry a modest rework risk. Tasks in the red zone carry a genuine injury risk plus a rework cost. That’s the math. It’s not about being brave or being cautious; it’s about knowing which zone you’re in.
How to Diagnose the Problem Before You Call
One of the highest-value DIY skills is diagnostic, not mechanical. A homeowner who has already narrowed the problem down arrives at a service call with a head start, avoids an upsell on the wrong repair, and often shortens the labor time because the technician isn’t starting from zero. Five minutes with a flashlight will do most of it.
Work through these steps in order, with the door in the closed position and the opener disconnected (pull the emergency release handle hanging from the opener rail):
- Try the door by hand from the middle. If it’s extremely heavy or won’t stay put at any point mid-travel, the counterbalance (spring or springs) has an issue. If it lifts smoothly but the opener doesn’t, the problem is the opener or its logic board, not the door.
- Look at the springs. A torsion spring has a small gap visible in the coil when it’s intact; a broken torsion spring often shows a two-inch gap and the two halves rest at different heights. An extension spring shows a stretched gap between coils. Either way, don’t touch them.
- Look at the cables. Both cables should be evenly tensioned and resting in the drum at the top corner of the door. A slack cable, a cable off the drum, or a cable whose end has pulled out is a call for service.
- Check the photo-eye pair. With the door open and someone watching, wave a hand between the eyes; the opener’s LED indicator should change. If neither changes, the eyes are misaligned, dirty, or wired loose. Cleaning and re-aiming is a safe homeowner fix.
- Test the wall station and every remote. If one works and the others don’t, the issue is a remote, keypad, or wiring problem. If none work, the opener’s logic board or power supply is the likely starting point.
- Note the door’s behavior for the technician. “The door goes up two feet and reverses” and “the door goes up eight inches and stops with a click” are two very different diagnoses. A quick phone video of the failure is worth more than a paragraph of description.
If the door is making a grinding or popping sound but is still operating, stop running it. Grinding from the opener head usually means a failing drive gear, and running it further can turn an opener repair into an opener replacement. That’s the same logic behind our garage door opener repair page: run the failure long enough and the cost goes up.
When to Call a Professional Instead
Some situations don’t need judgment calls. If any of these are true, call a professional before doing anything more than a visual inspection.
Call a pro if a spring appears broken or the door is far heavier than usual by hand; if a cable is slack, off its drum, or visibly frayed; if the door has come off the track and is jammed unevenly; if the opener head is smoking, grinding, or tripping the breaker; if the bottom bracket or bearing plate is loose; or if a spring work is anywhere in the diagnosis. Also call if the garage is your only means of getting a car out and you can’t leave it out of service.
Oakes Garage Door Repair offers free estimates in Lakewood. Call (844) 959-0082. We work on the equipment already in your garage, from a LiftMaster opener to a Raynor door, and we won’t push a replacement to run up the bill when the right move is a repair. Every price is written down and agreed before any work starts, which means the number on the estimate is the number on the invoice. Our technicians have up to 8 years of experience, and since garage doors are all we do, that experience is entirely on this equipment rather than spread across several trades.
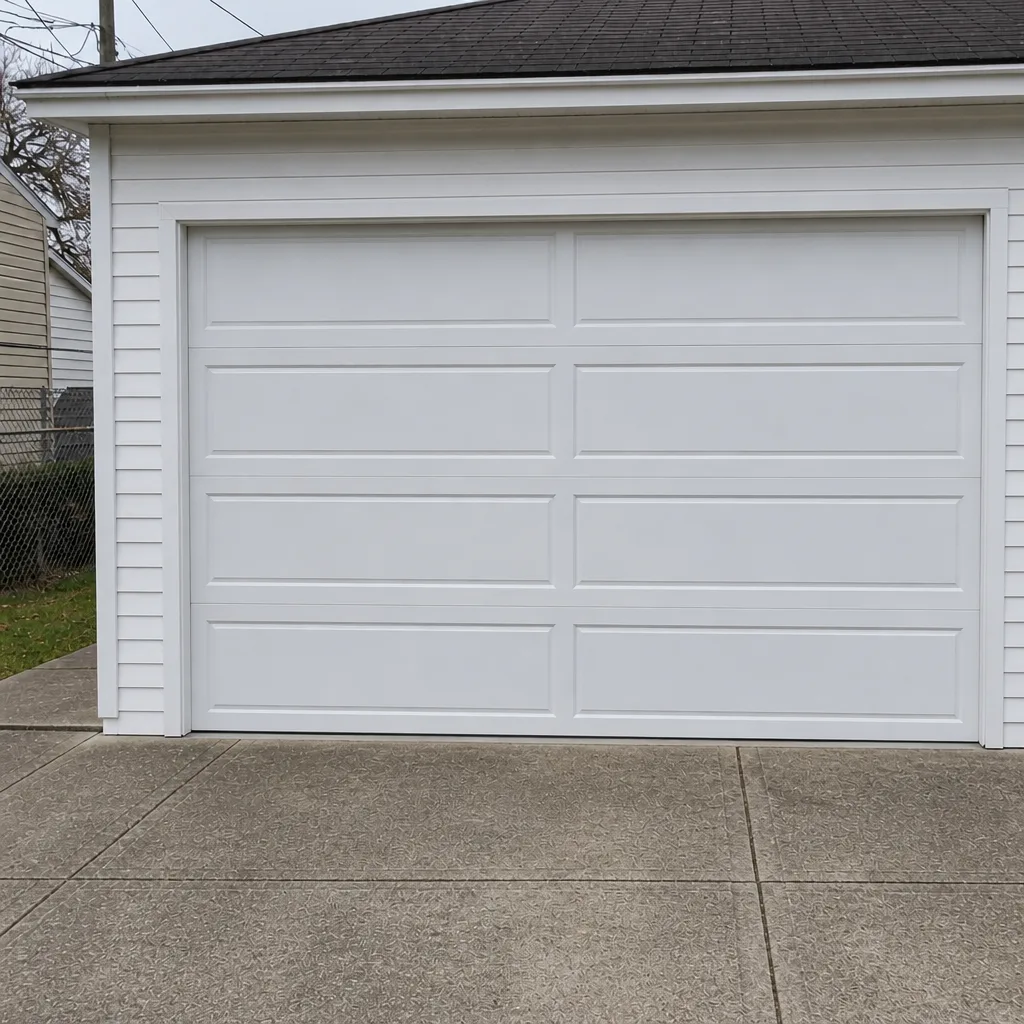
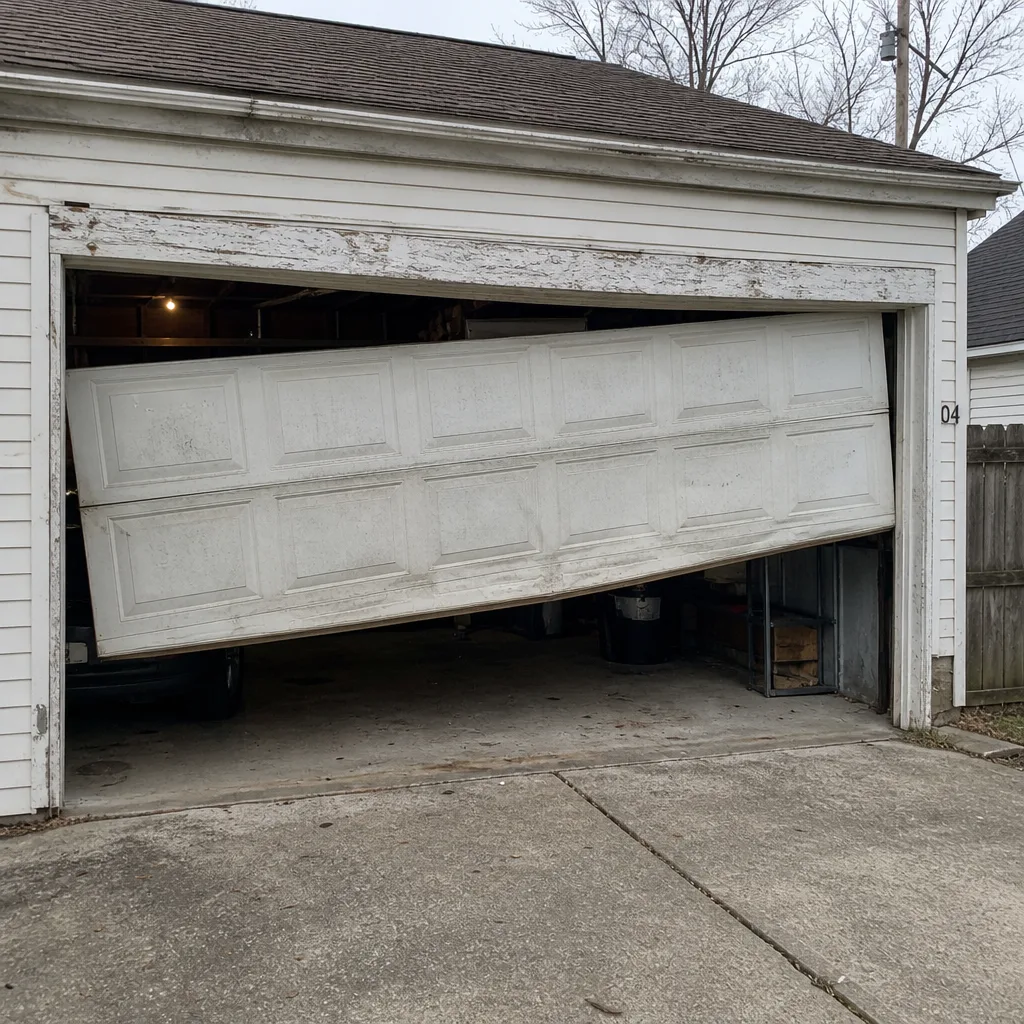
See the difference
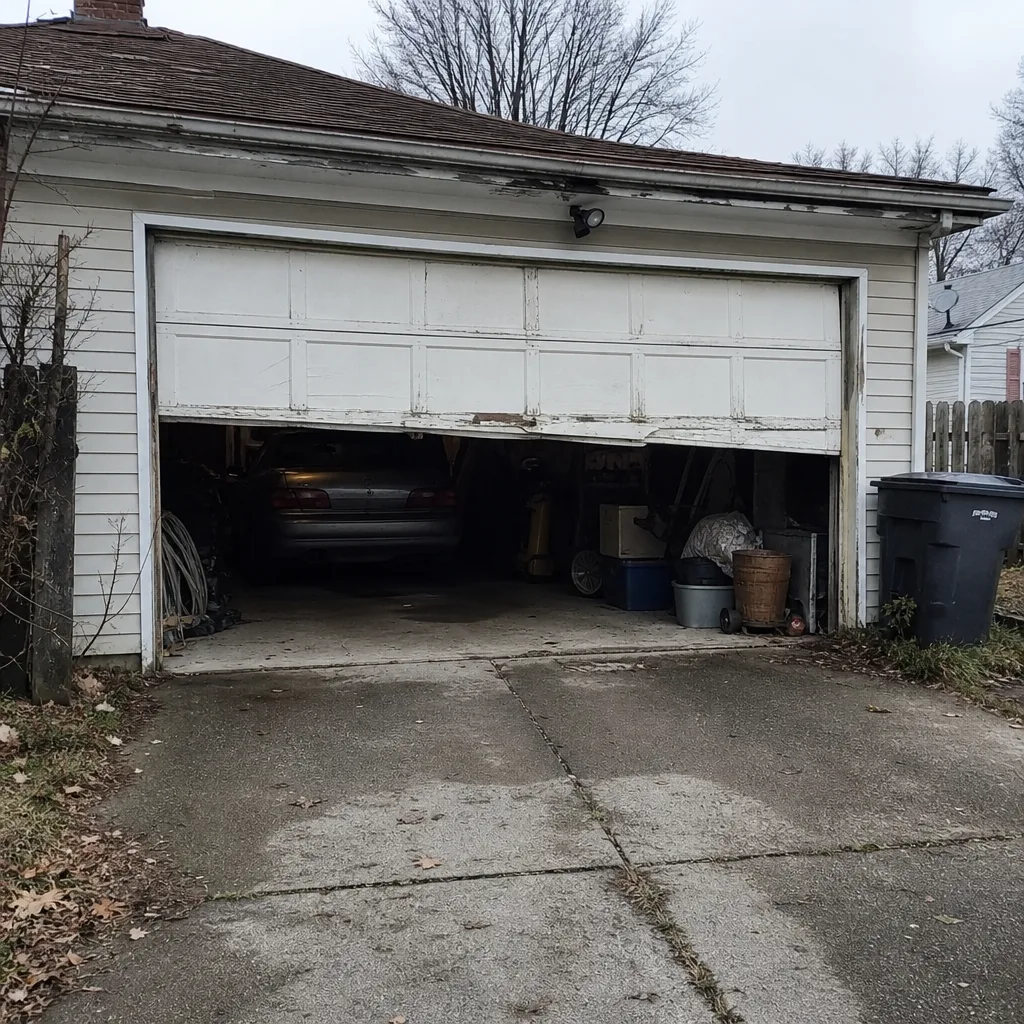 Before
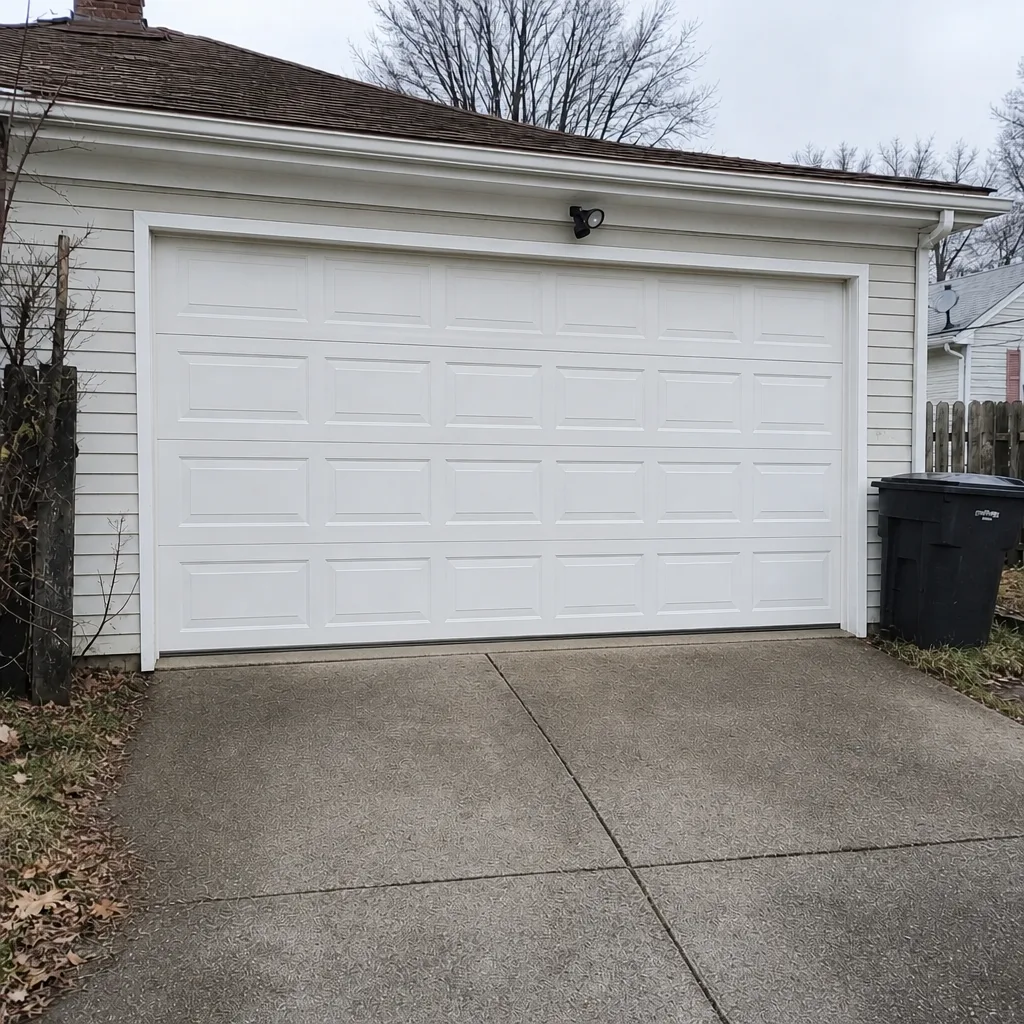 After
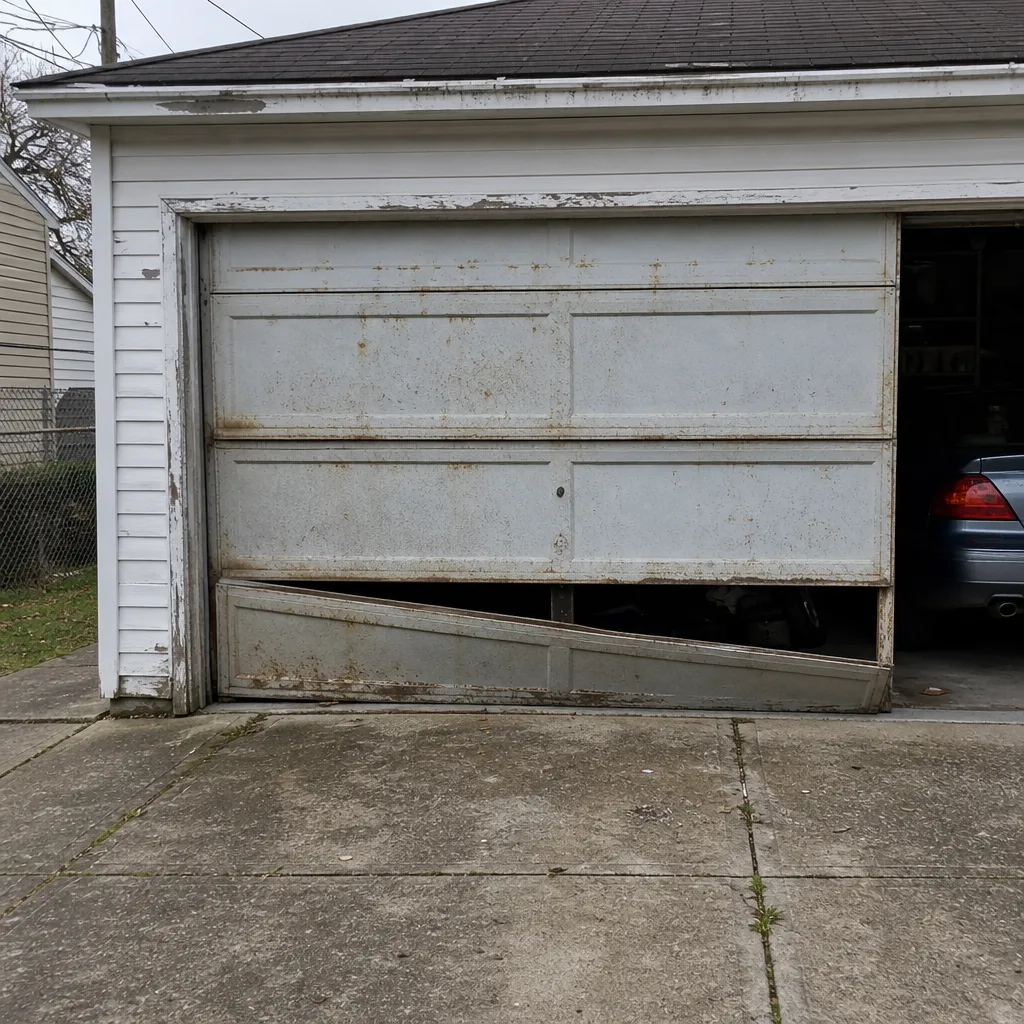 Before
 After
 Before
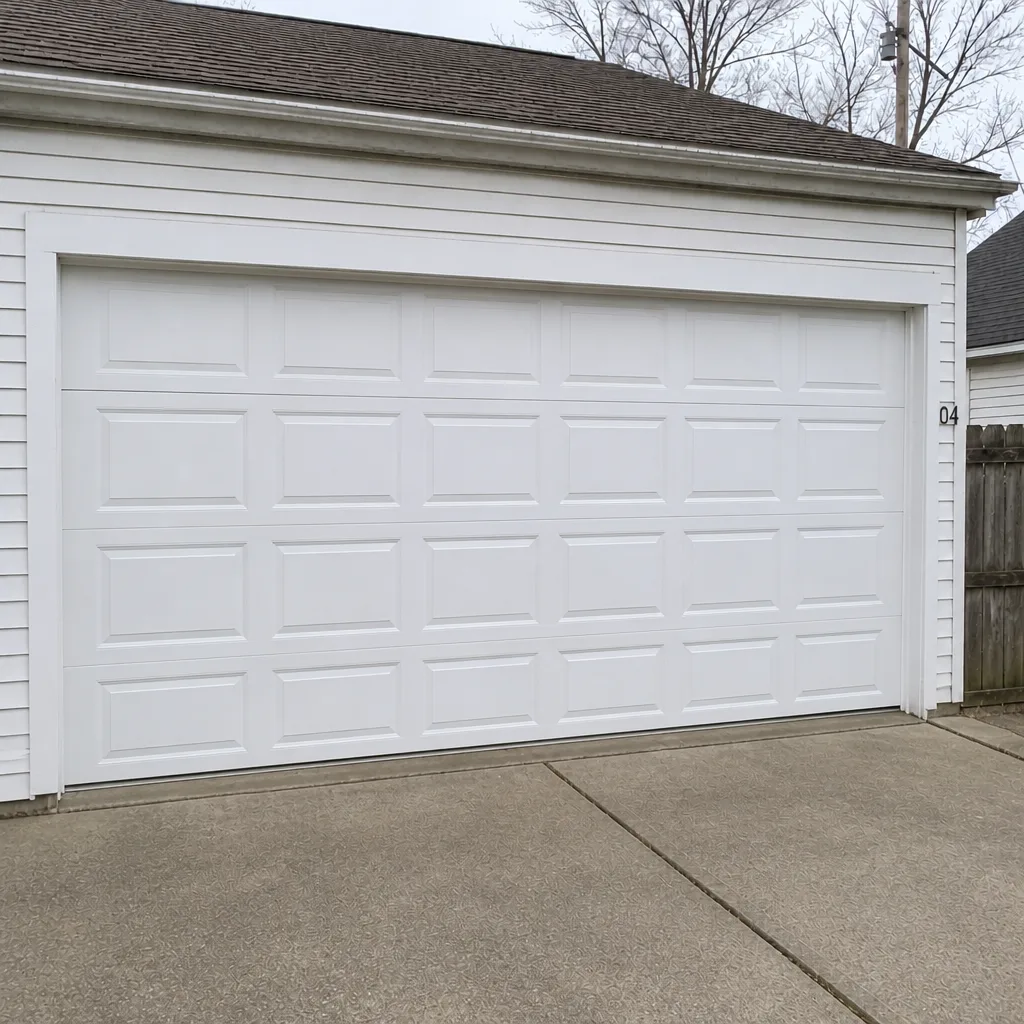 After
Common Mistakes to Avoid
- Substituting a screwdriver for a winding bar. The single most common way homeowners get hurt during garage door work. The screwdriver slips out of the cone, the spring releases, and the resulting injury is serious. There is no safe workaround for a proper winding bar, which is exactly why this stays in the red zone.
- Replacing one spring on a matched pair. If a garage door has two torsion springs and one breaks, replacing only the broken one leaves the door imbalanced and puts double the load on the new spring. Most professionals replace the pair together, which is why a pair costs roughly twice the price of a single spring repair.
- Forcing a heavy door with the opener. When the door feels heavy by hand, the opener is working against a failed spring. Running it “just to see” is what converts an opener repair into an opener replacement. Stop using the door.
- Ignoring the header on a Lakewood install. A door installation in an older Lakewood garage should start with a look at the header above the opening. Soft framing from years of moisture cycling doesn’t announce itself, and it’s the wrong anchor point for a heavy new door and track.
- Using oil or grease in the tracks. Oil collects grit and binds the door. The track is meant to stay dry and clean; lubrication goes only on the hinges, roller stems, and torsion bar.
- Resetting travel and force limits too far in one go. Overshooting the limit adjustment can crash the door into the floor or force it up against its stops, which cracks panels and can strip the opener’s drive gear. Small quarter-turn changes, tested between each, are the safe method.
- Calling a general handyman for a spring job. A multi-trade generalist who does fences, gutters, and garage doors usually doesn’t have the winding tools, the spring inventory, or the specific training. This is where a garage door specialist genuinely separates from everyone else. Our Oakes Garage Door Repair approach is single-trade for exactly that reason.
Frequently Asked Questions
No. Torsion and extension springs hold between 150 and 300 pounds of stored tension, and winding or unwinding them requires two solid winding bars, correct spring sizing, and knowledge of winding direction that isn’t safe to learn on your own door. A released spring can cause serious injury regardless of how careful you are. Call a specialist; the repair is typically rounded into a single service visit and the risk to you is not worth trying to save on it. Call (844) 959-0082 for a free estimate.
Lubricating hinges and rollers, replacing weatherstripping, cleaning and aligning the safety sensors, wiping out the tracks, programming remotes and keypads, adjusting opener travel and force limits, swapping a broken roller, and replacing batteries are all within reach of an attentive homeowner. Replacing panels or resetting a door that’s come off its track sits in a middle zone where a second set of hands and some patience help. Call us if you’re unsure which side of the line a specific repair sits on – estimates are free.
Most single-spring repairs land somewhere in the range of what a Midwestern suburb of this size typically charges, and we’ll write the estimate for your specific door before any work begins. Matched-pair replacement costs roughly twice the price of a single spring because two springs are replaced together, per the reasoning above. Call (844) 959-0082 for an exact quote on your door.
Not silently. Any estimate is based on the description of the problem; if a look at the door reveals a different or additional issue, we’ll tell you and write a new estimate before starting. The written estimate is the price. Nothing gets added mid-job without a conversation first. Call (844) 959-0082 to set up a free estimate.
Often yes, since emergency repair is a core part of what we do rather than a side offering. Availability depends on the day and the current schedule, so the fastest way to find out is to call. Our operation runs on the week’s daytime hours and is closed on Saturdays, but if a door fails on a Saturday, call and we’ll book you for Sunday. Call (844) 959-0082.
The local professional who comes to your door is licensed and insured as Ohio requires for this kind of work. Our technicians have up to 8 years of experience, and garage doors are the only thing they work on, rather than being spread across several trades. Call (844) 959-0082 for a free estimate.
The Bottom Line
The DIY line for garage door work comes down to stored energy, not skill. Springs, cables, bottom brackets, and the counterbalance system are red-zone tasks that carry genuine injury risk and should go to a trained specialist. Maintenance, weatherstripping, sensor alignment, opener programming, and diagnostic work are green-zone tasks worth doing yourself, and they’ll save you money over time. Lakewood’s older garages shift most installations and full replacements toward the professional column because rough openings and header framing rarely match catalog spec. Wherever your specific door falls, arriving at the service call already knowing what’s wrong protects you from surprises on the invoice. If you’d rather have that conversation with a specialist than with a generalist, that’s the whole job for us.
For a free estimate anywhere in Lakewood, call (844) 959-0082.
Written by the team at Oakes Garage Door Repair.